Easter is just around the corner and, just like last year, I'm already looking forward to doing Easter crafts with my daughter. And of course I'm eagerly looking forward to spring, flowers and the feeling of being able to celebrate something again. In this blog article, I'd like to show you what I'll be making with my toddler this year and how we'll be decorating our table in an easy and cheerful way after Easter crafting.
Crafting for Easter is the be-all and end-all for a great start to Easter in our family. Colourful Easter decorations not only sweeten the Easter season, but are also a great way to spend time together with our children and loved ones. It doesn't have to be complicated instructions, but I have simple DIY ideas for you at home.
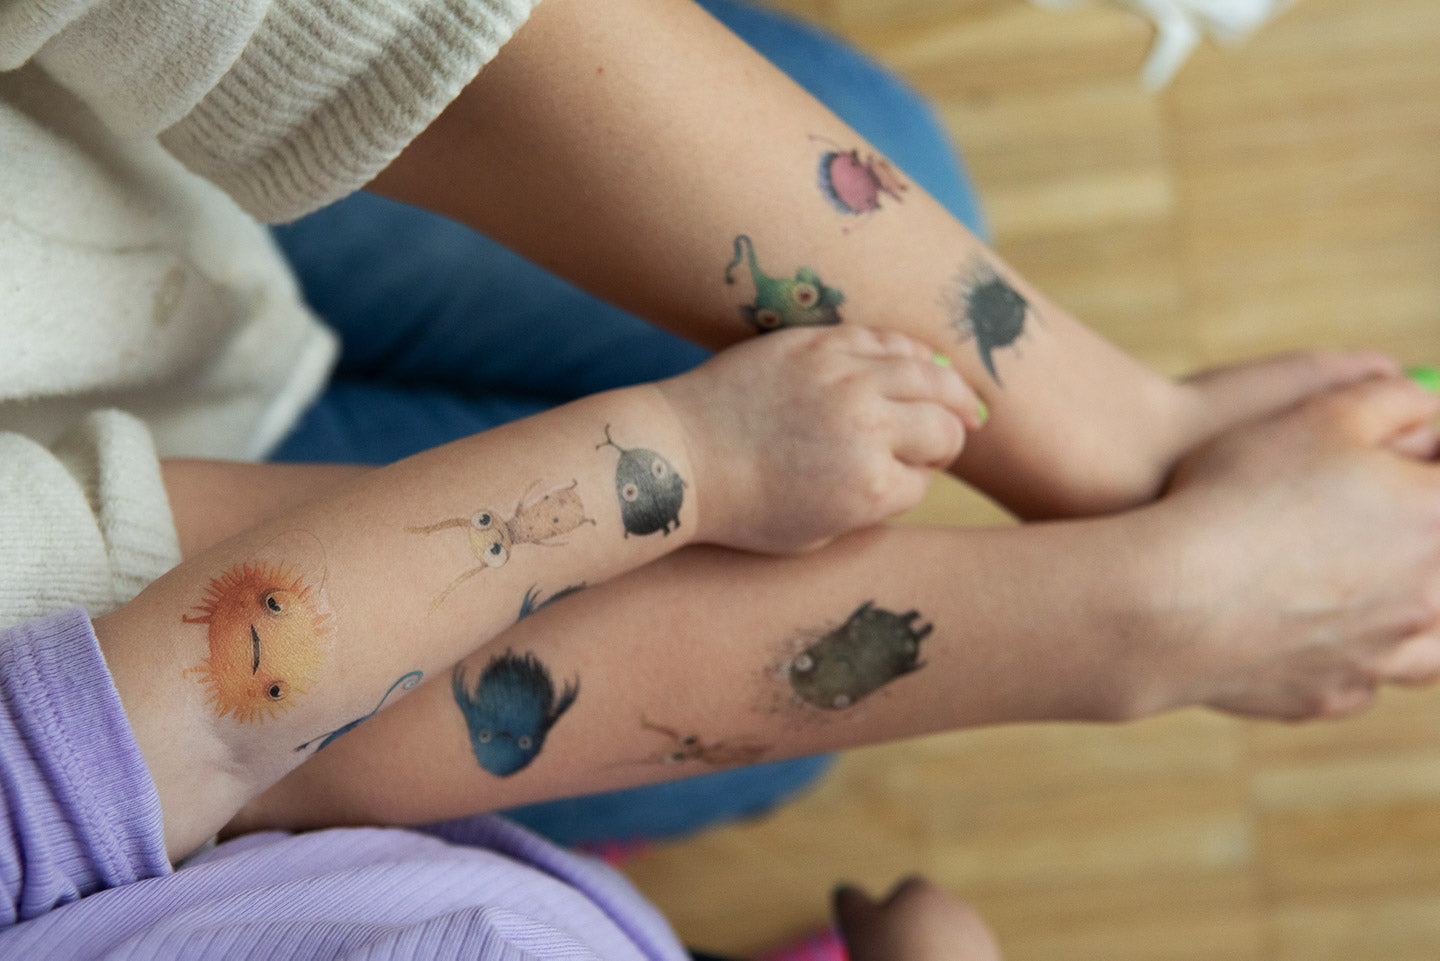
Decorate Easter eggs with natural materials and temporary tattoos
Last year, my daughter loved colouring the Easter eggs and then decorating them a little bit individually or painting wildly on them. This year, I want to do the same thing again and colour the Easter eggs with natural materials this time. And spice them up with temporary tattoos! Of course, you can also just decorate your Easter eggs with tattoos. The extra effort of colouring the eggs is not absolutely necessary.
This is what you need to make Easter eggs:
- Eggs
- Vinegar, kitchen towel
- Temporary children's tattoos, small sponge and water, scissors
- Optional: Natural colouring materials (I use turmeric, red cabbage, beetroot and spinach)
- Cotton buds or brushes
- Optional: small leaves or flowers, old nylon stockings
Step 1 when making Easter eggs: clean
Firstly, I rinse the eggs once to remove any impurities. You can use the vinegar and a kitchen towel to carefully remove the numbers from the eggs.
Step 2 when making Easter eggs: Prepare carefully
Carefully prepare the colour stock:
- Yellow - turmeric: simmer a tablespoon of turmeric powder or finely grated turmeric root in half a litre of water for approx. 10 mins.
- Blue/ purple - red cabbage: chop or slice a quarter of red cabbage and simmer for approx. 30 mins.
- Red/pink beetroot: Peel 2 beetroot tubers and cut into large pieces. Cover and simmer for approx. 30 mins.
- Green spinach: Cover and simmer two large handfuls of spinach for approx. 30 mins.
My tip: It is best to boil the brew and remove the plant parts. Then continue with step 3.
Step 3 when making Easter eggs: Colouring the shells
Add a tablespoon of vinegar to the colour broth so that the colour is better absorbed by the peel.
Then boil the eggs in the colouring stock for approx. 10 minutes (move them around with a spoon from time to time so that the colour is evenly absorbed). If the colour doesn't seem deep enough, simply leave the eggs in the cooling broth for a little longer. You can then carefully dab the eggs with a kitchen towel or an old towel.
Optional: Before cooking, moisten a flower or small leaf and press it onto the egg. Then place the egg and flower in an old nylon stocking, knot and place in the coloured stocking. Boil for approx. 10 minutes as described above and carefully pat the egg and stocking dry. Pull off the nylon stocking and carefully remove the leaf or flower.
In fact, the colour brew with spinach didn't work so well for me, so I embellished the eggs again with my watercolours. However, I can highly recommend turmeric and red cabbage. And I made a really tasty salad with the boiled beetroot!


Step 4 when making Easter eggs: Decorate colourfully
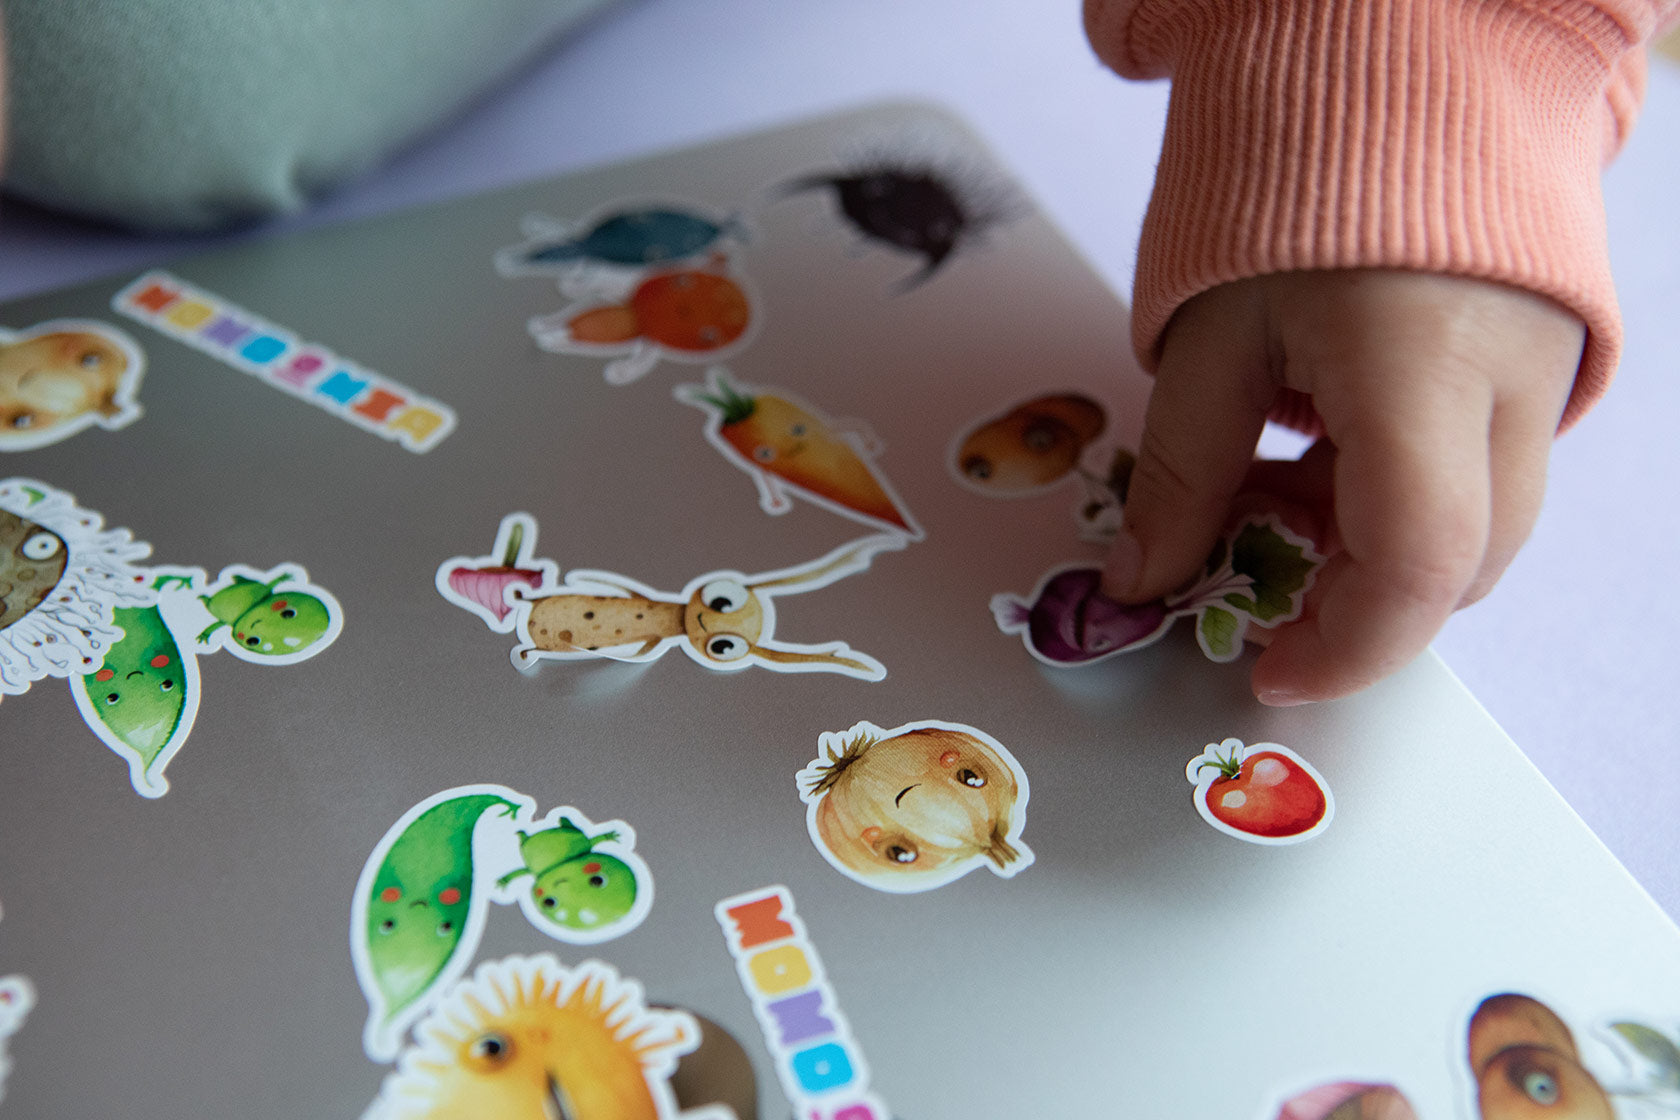
Now the decorating can begin! Grab a few tattoos, place them on the area you have chosen and moisten the sponge. Gently press it onto the tattoo for around 20 seconds. Peel off the backing film and voilà - the Easter egg is decorated with a cool temporary tattoo!
A little tip: You can also apply the beautiful temporary tattoos (or stickers) to small glass vases and bottles! Collect a few twigs, spring flowers or grasses on a walk through the forest or garden and your table will look super cool. The tattoos also stick wonderfully to candles.
If you haven't decorated your Easter eggs enough yet, you can use a brush or cotton bud soaked in vinegar to create patterns in the colouring! The vinegar will remove the colour from the egg.
Optional: Finally, the self-coloured Easter eggs can be rubbed with a few drops of cooking oil to give them a glossy finish.
But where should our pretty eggs be put now? Exactly: in little Easter baskets!
Make Easter nests from paper cups:

Who should definitely not be missing at Easter? The Easter bunny! When we're crafting for Easter, I always think of one or two ideas for how we can integrate little Easter bunnies into the Easter decorations. My idea for this year is a little Easter bunny mug. Simply cut a few bunny ears out of paper, stick them to the rim of a paper cup and give the little bunny a fluffy tail made of cotton wool and a face with a felt-tip pen. And the Easter bunny is ready for Easter ;)
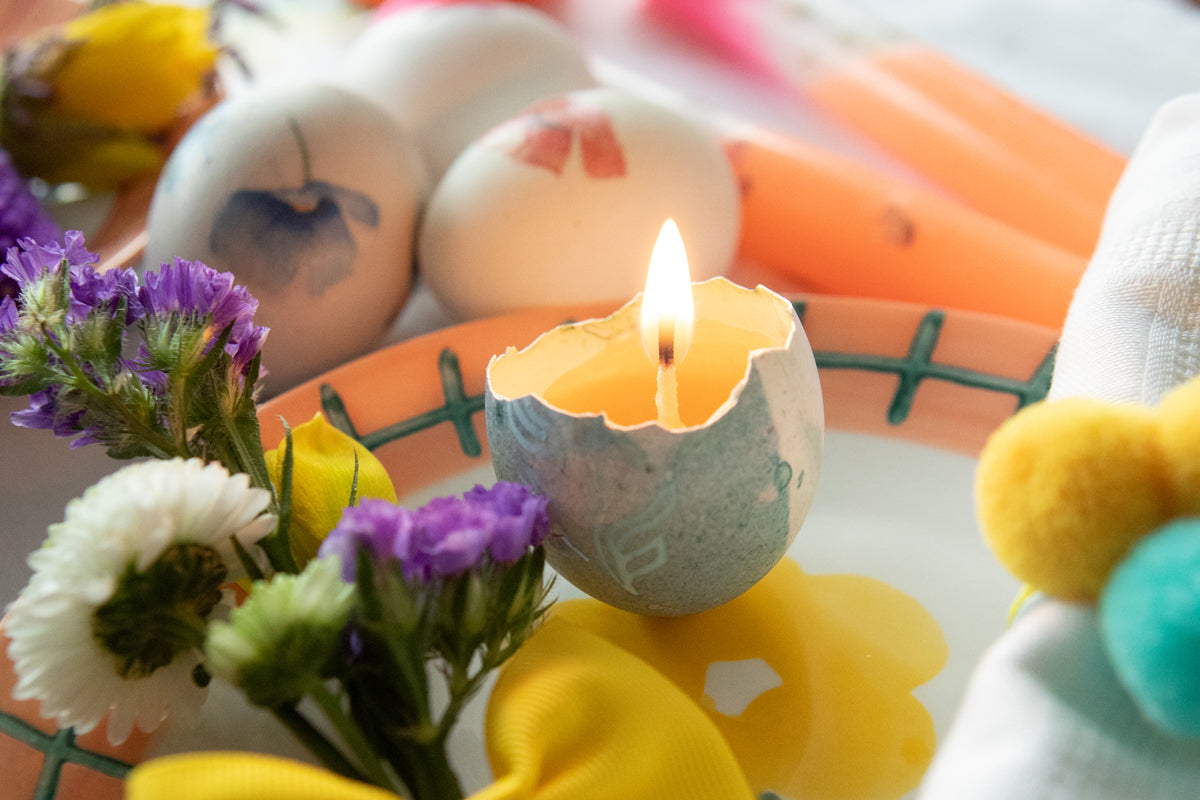
Did you break a few Easter eggs while blowing them out or decorating them afterwards?
No problem: simply melt a few leftover candles in a glass in a bain-marie. Dip a piece of string into the wax several times to make a wick. Then pour some wax into the eggshell. Hold the wick at one end with a clothes peg. Then place the wick vertically in the wax. The clothes peg holds the wick in place so that it cannot slip into the egg. Leave to cool and place on the Easter table. Incidentally, this is also a cool idea for small Easter gifts between friends.
Napkin rings made from colourful hair accessories
In addition to vases and eggs, you can also embellish the Easter table with simple but effective decorations: wrap colourful pom-poms or ribbon hair ties around your napkins. These simple decorations create a cheerful atmosphere at Easter breakfast.

Creative Easter craft ideas with salt dough
Easter crafts with salt dough are also a great way to make beautiful Easter decorations with children. These DIY ideas are fun and easy peasy for little hands.
What you need:
- 2 cups flour
- 1 cup salt
- 1 cup of water
- Cookie cutters (Easter bunnies, eggs, chickens)
- Acrylic paints and brushes
Steps for Easter crafting with salt dough:
-
Prepare the dough: Mix the flour, salt and water to form a firm dough. Knead it well until it becomes smooth.
-
Cut out shapes: Roll out the dough and cut out various Easter shapes. Shapes such as Easter bunnies or chickens are particularly suitable for Easter, but of course there is also room for everything else on the table.
-
Baking: Place the moulds on a baking tray and bake them in the oven at a low temperature until they are hard.
-
Decorate: Once they have cooled, the children can colour them to their heart's content.
These salt dough figures can be used as part of your Easter decorations or given as small gifts to family and friends.
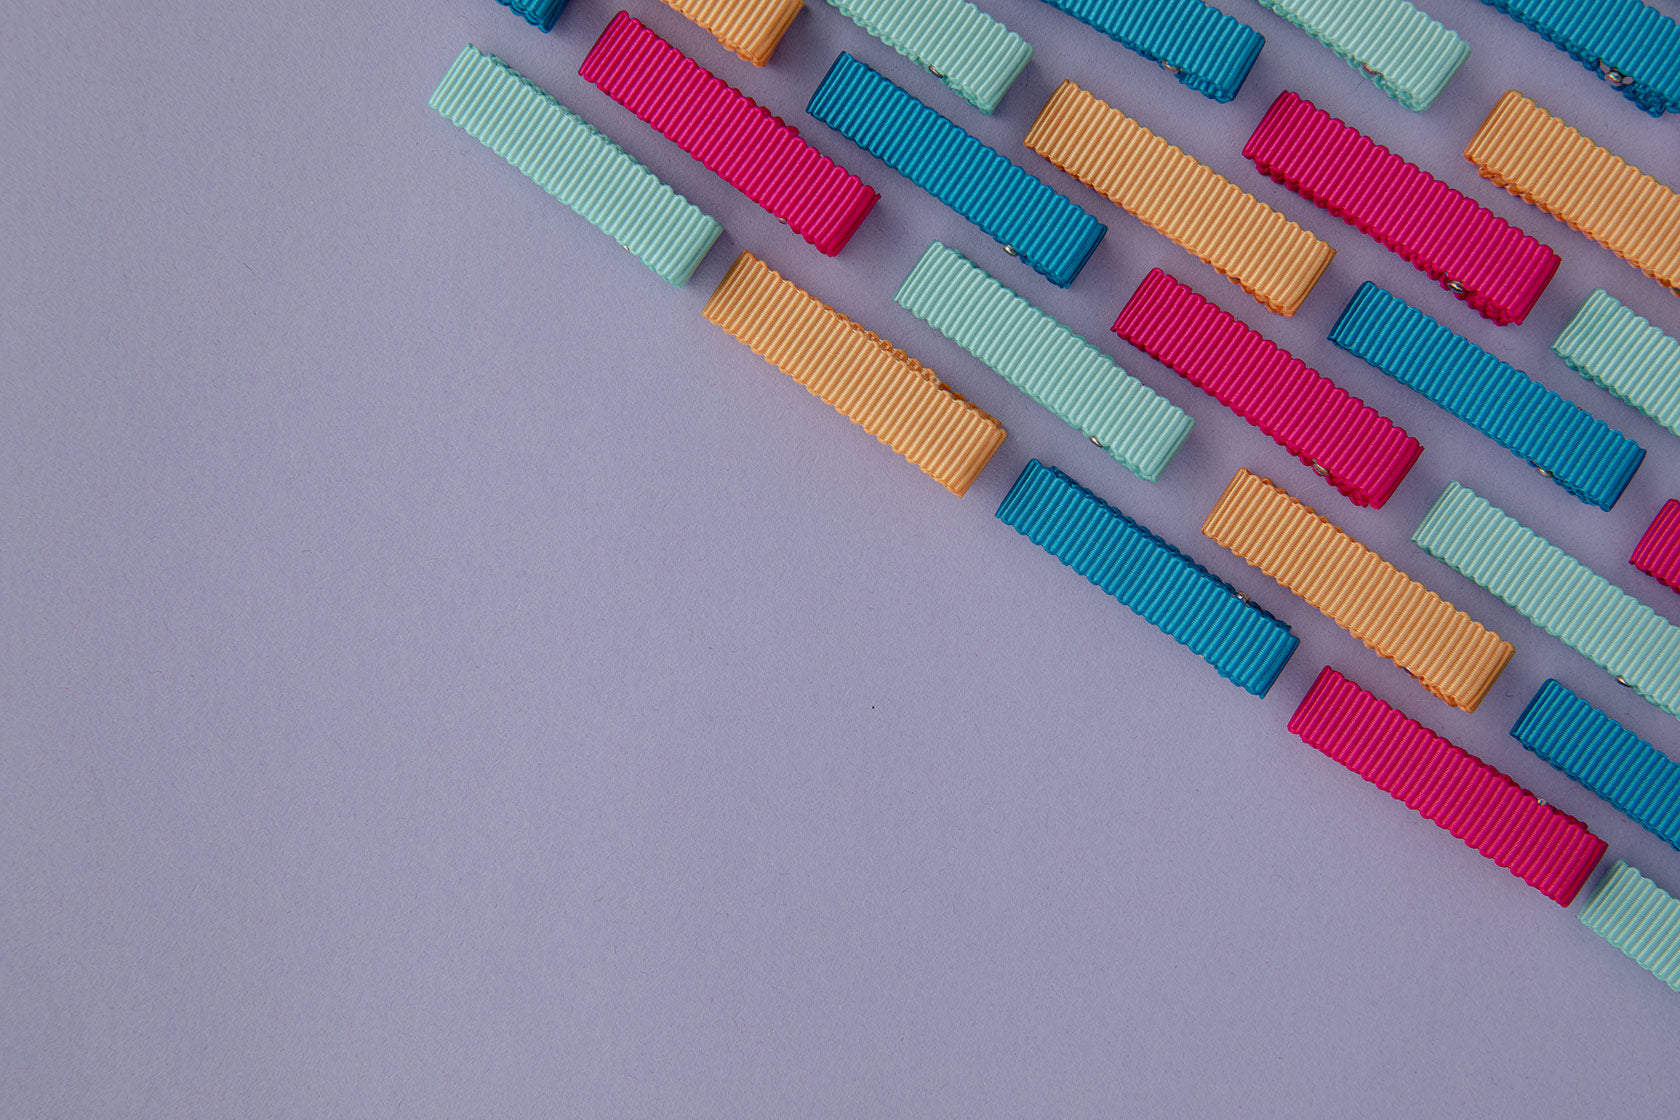
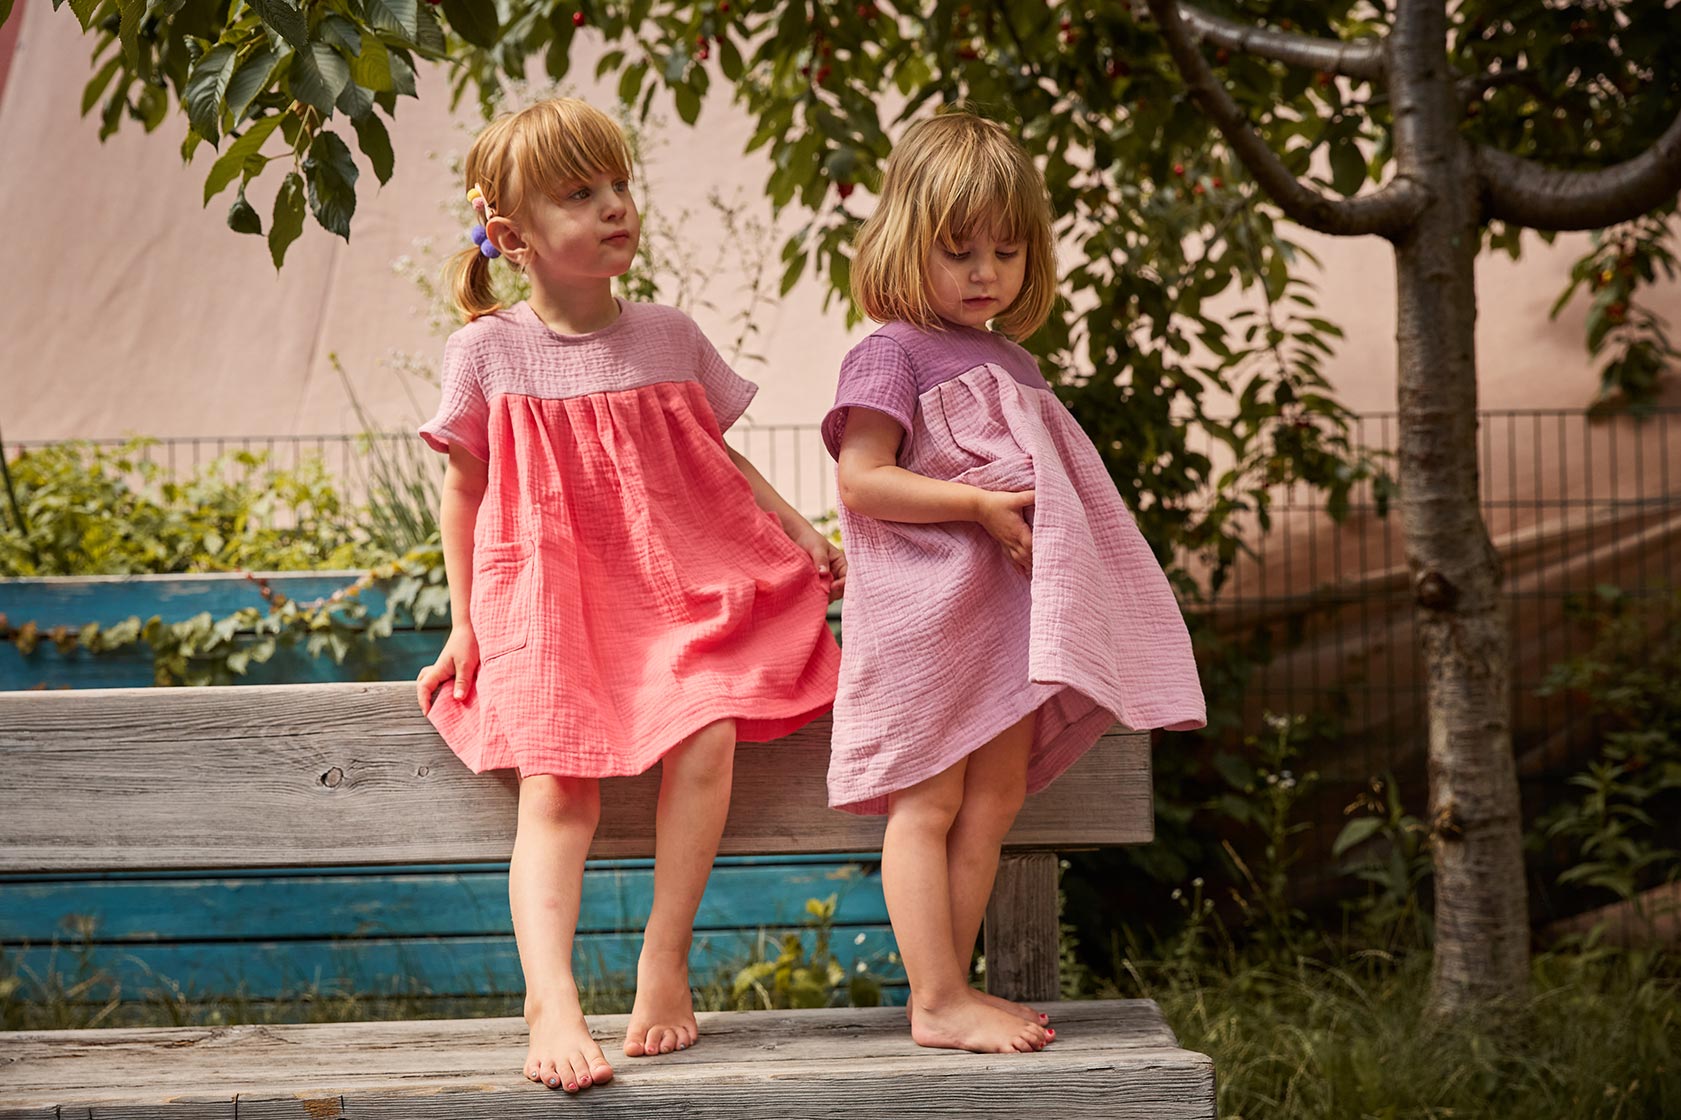
Easter bunny hair accessories with colourful hair clips
My hair clips with colourful bows and pompoms can also play a role in Easter bunny hair decorations. Make Easter bunny ears out of paper and attach them to the hair of the little artists and of course yourselves using the super cute hair clips. This way, not only the table, but everyone will be festively decorated.
Colourful Easter chicks made from pompoms
Craft ideas with pompoms are particularly popular with children. These cool Easter chicks are a trendy addition to any Easter decoration.
What you need:
- Yellow wool
- Small wiggly eyes
- Orange felt for beaks
- Glue
- Scissors
Instructions for Easter chicks:
-
Make pompoms: Wrap yellow wool around your fingers to make small, round pompoms. For a small pom-pom, wrap the wool around two fingers, for larger pom-poms, use several fingers. Remove the wool from your fingers, tie it tightly in the centre with an extra thread and cut open the ends.
-
Assemble: Stick wiggly eyes and a small felt beak on each pompom to create the chick.
-
Present: Place the chicks as part of your Easter decorations or as a cheerful addition to your Easter wreath.
Easter bunny garland - a festive eye-catcher


Who would I be if I didn't make a garland for Easter? Have a look here (insert link to reel), I've already made an Easter bunny garland.
What you need:
- Coloured paper or cardboard
- Scissors, glue
- String or ribbon
- Easter bunny templates
Instructions for the Easter bunny garland:
-
Cut out the Easter bunny: Use templates to cut out Easter bunnies from coloured paper.
-
Decorate: Let your children decorate the bunnies as they wish with stickers, glitter or paint.
-
Hanging up: Stick the Easter bunnies onto a string at regular intervals and hang up the garland.
Have a look here Easter Card Freebie Download 2023, I've already prepared a few Easter bunnies for you to print out! Great for Easter cards, garlands or even small DIY decorative egg cups.
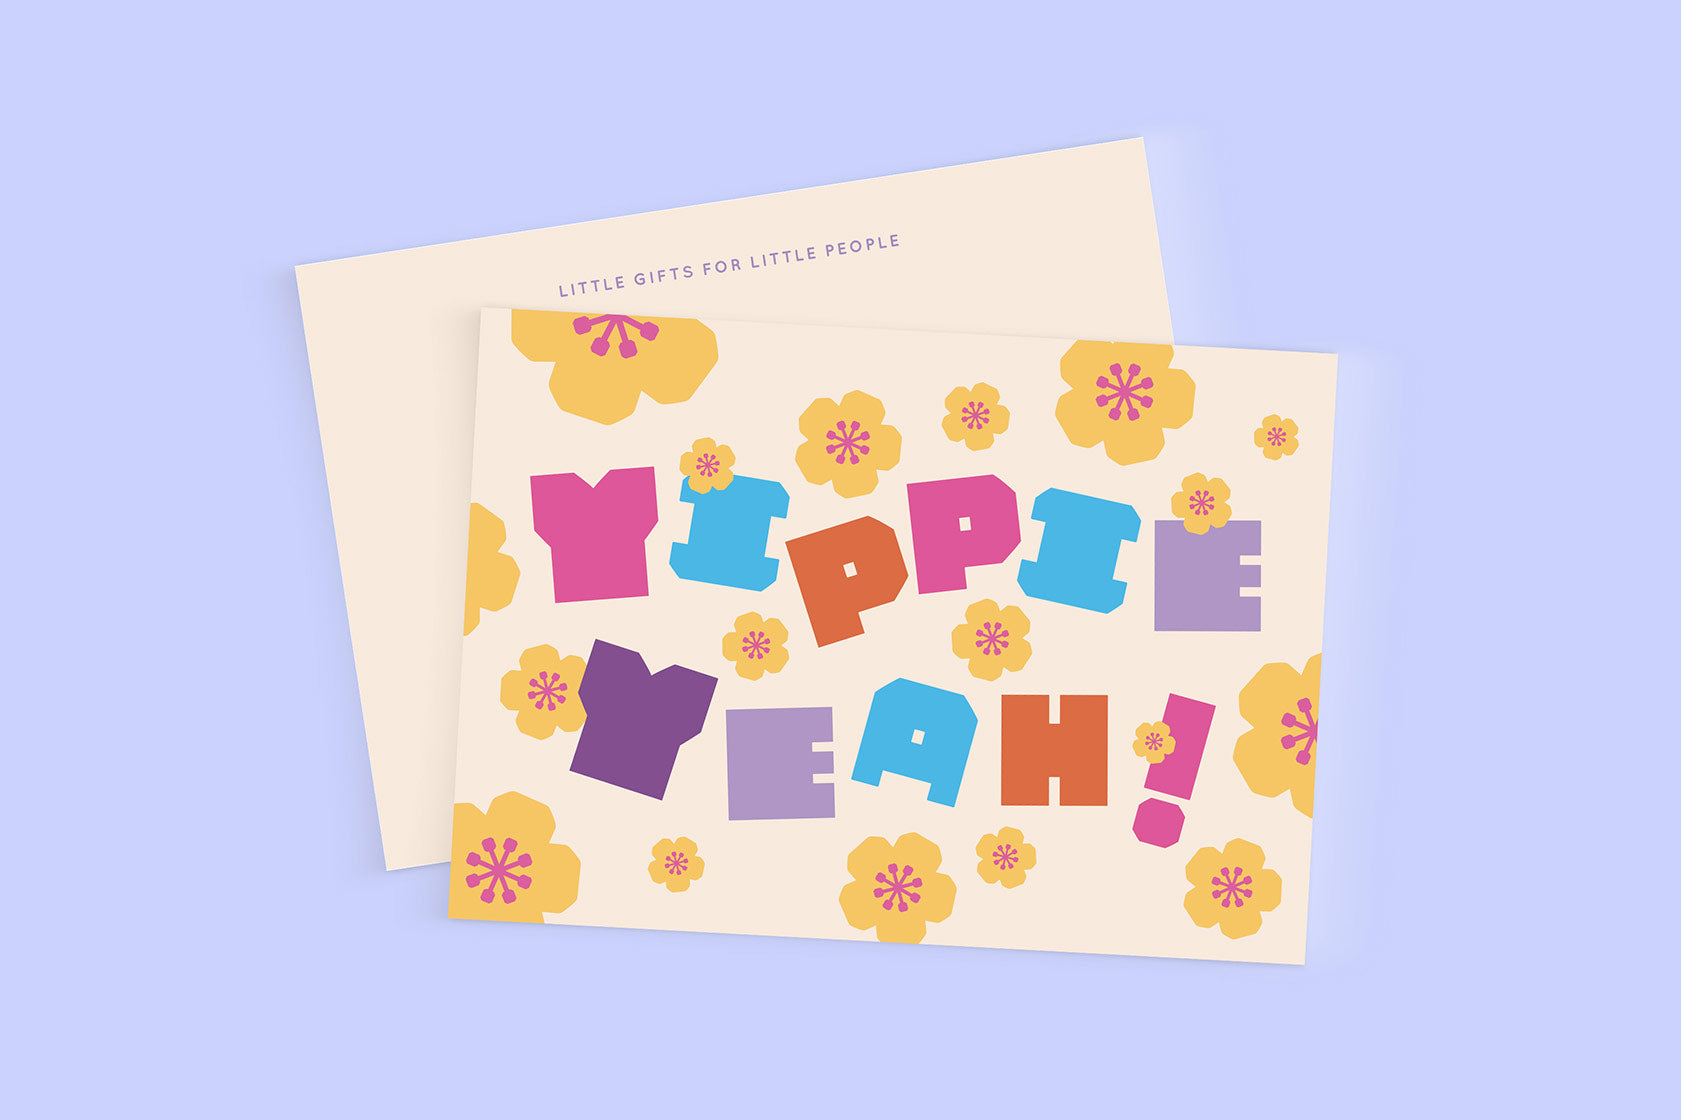
Easter cards with fingerprints
How about a few homemade Easter cards? You can use fingerprints or handprints to create beautiful Easter cards with even the youngest children.
What you need:
- Firm paper
- Colourful ink pads or finger paints
- Felt-tip pens, stickers, wiggly eyes, glitter stones or whatever else you can find in your craft box
Instructions for Easter cards:
-
Make fingerprints:Dip your fingers in different stamp colours and press them onto the card to create Easter motifs such as eggs, bunnies, chickens or flowers.
-
Add details: Use felt-tip pens etc. to draw details such as grass, bunny ears or faces.
-
Personalised message: Write a heartfelt Easter message on the card to send to friends and family.
Tip: Or you can get mega cool Easter cards from my shop ;)
So, with all these DIY ideas, I think you'll have lots of fun with your children making Easter crafts.
Have fun crafting and happy Easter!