Upcycling decoration ideas: spice up children's rooms with DIY ideas and colors
Von Nelly Hohmann
In this blog article, I share with you my experiences of upcycling an old grocery store and how colorful pennant chains transformed not only the store but also the entire room into a cheerful children's paradise. I also share other upcycling ideas that I want to try out myself at home one day, because not all garbage is really garbage.
Decorating your children's room doesn't always have to be super expensive. With a little color and simple DIY projects, you can easily create a room that is not only cozy, but also invites children to play. Upcycling decorating ideas are all the rage and are no longer just for thrifty types and retro lovers. On this occasion: clear the stage for creative ideas and new things.
Store upcycling: turning old into new
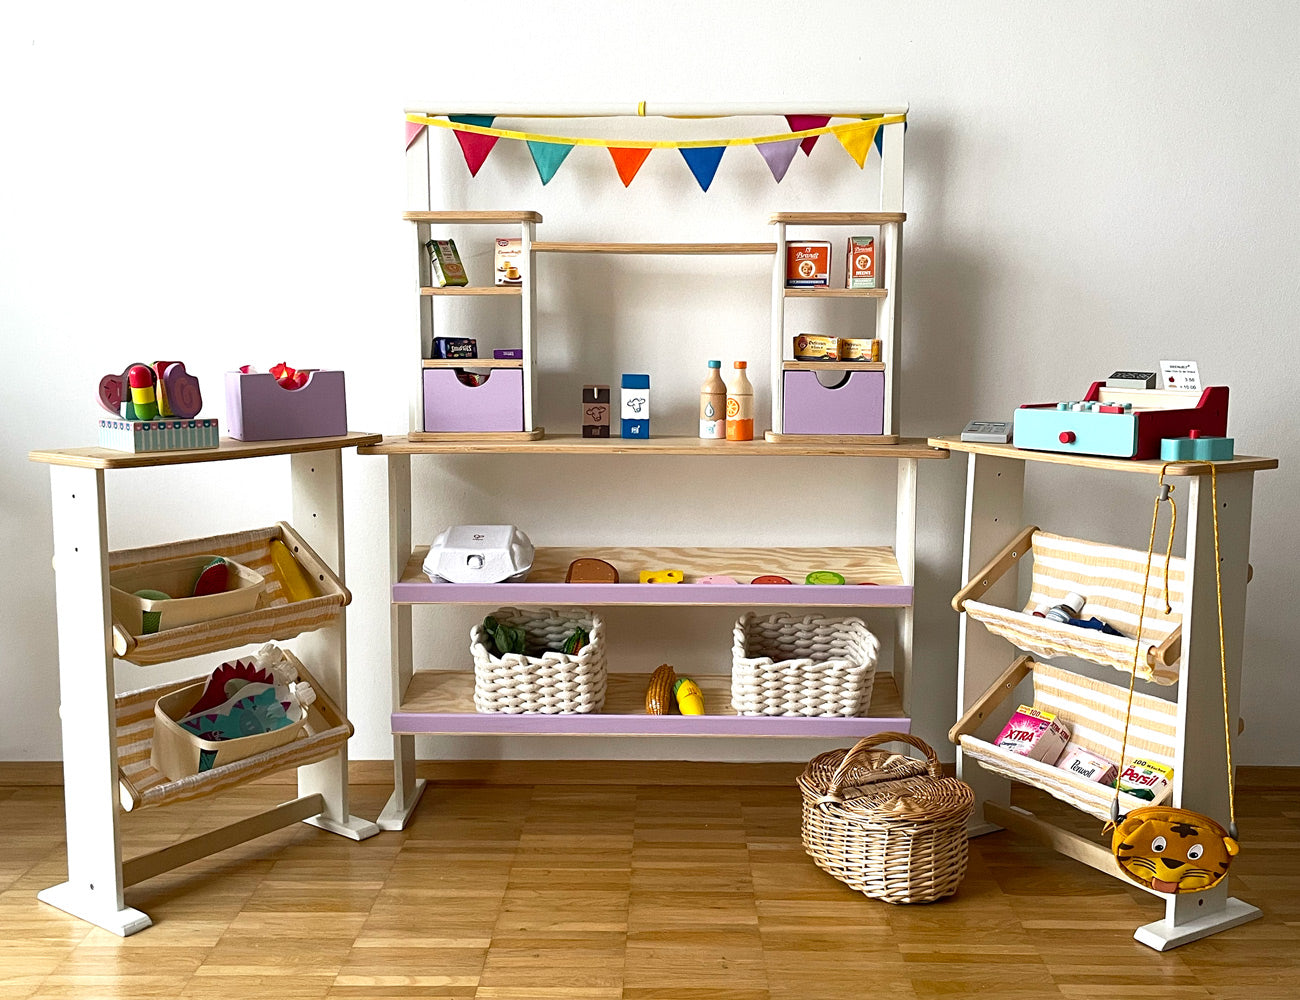
This upcycling project had been on my want-to-do list for a long time. Two years ago, I was given the store from the cellar of a grandma friend! The store has been used since then, but with the launch of 2024, I wanted to give not only myself but also the little shop a cool new start.
The first thing I did was partially dismantle the store and give it a good clean. In some places I went over it briefly with some sandpaper so that the paint would hold better and in other places the wood had to be glued.
Then I painted all the parts twice with a paint suitable for children's furniture. Some parts got white varnish, some purple and some matt clear varnish.
My tip: use a roller rather than a brush to get a more even coat of paint. Maybe one coat would have been enough. Spray paints are also a good alternative! I just used what I had left.
Next, I replaced the existing fabric pockets on the side panels with a fresh fabric in a friendly color.
I found the fabric element impractical for the centerpiece of the store and wanted to install two shelves instead. To do this, I went to my local DIY store (Obi forever) and had a piece of chipboard cut to the right dimensions for €5. I also bought two simple wooden slats made of pine for around €3.50 to prevent the baskets from falling out at the front of the shelves. I then painted the strips and glued them to the boards with wood glue.
Tip: don't choose chipboard that is too thin. Mine is only 3 mm thick and what made total sense at first glance in terms of weight and price made me break out in a sweat when I was fitting it. The shelves were too thin to attach to the legs of the store with screws. Nails also failed, so I ended up gluing them on with a small guide strip (leftover pieces of the strips) using wood glue.
And that was it! I did this on three days during my lunch break and it took me about 3.5 hours
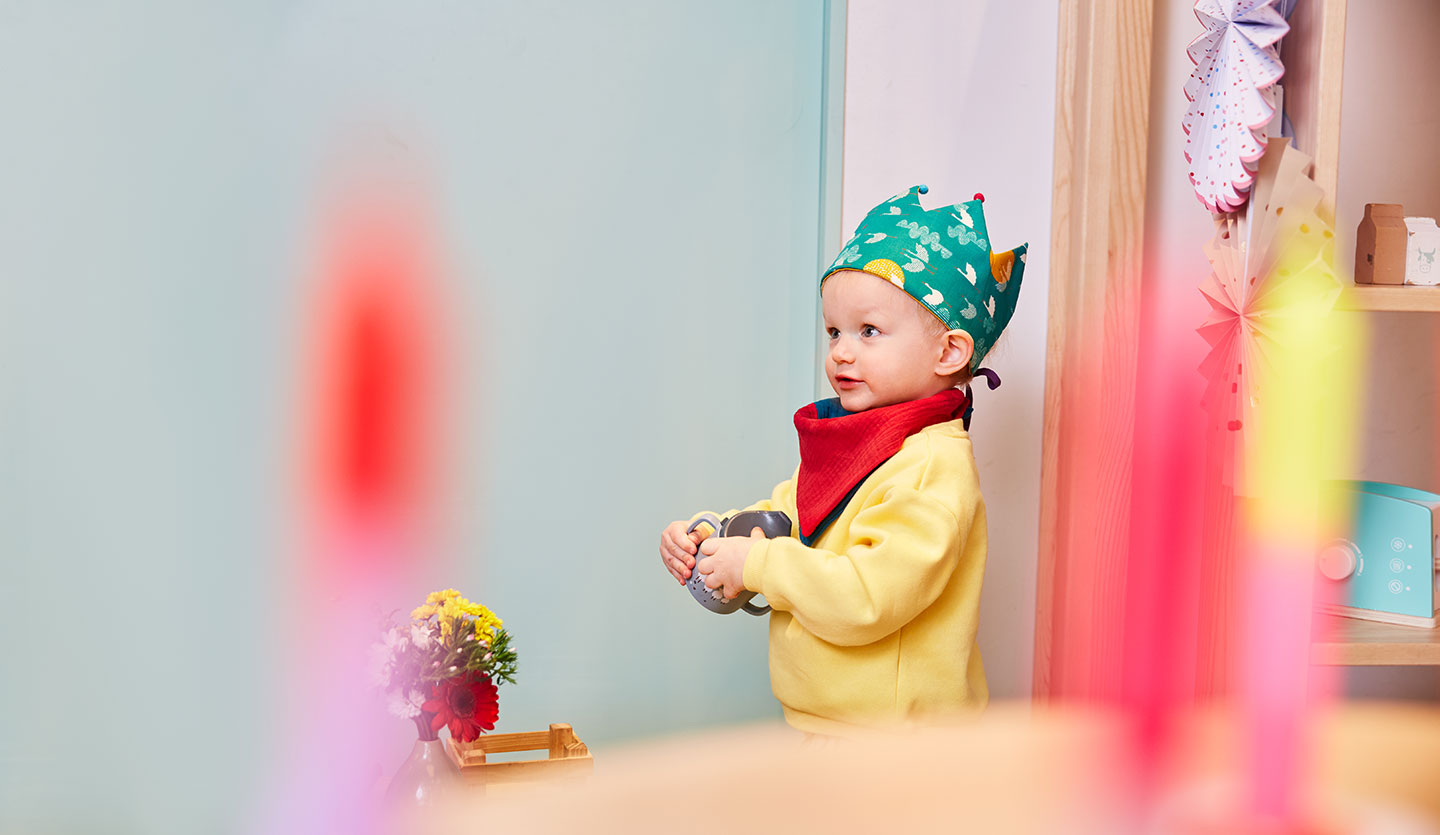
Another highlight of a store in the children's room is that we can decorate it seasonally. There is usually a pennant chain hanging on the outside and an advent calendar in the run-up to Christmas.
Upcycling bookshelf: old crates reinterpreted
Another upcycling project that enriches every child's room is the transformation of old wooden crates into a colorful bookshelf. It is definitely a real trendsetter in terms of decoration and upcycling and also offers practical storage space, which you can never have enough of in the children's room.
What you need:
Old wooden boxes
Sandpaper
Varnish or wood stain
Screws and dowels
Instructions for the upcycling bookshelf:
Prepare: Lightly sand the crates to create a smooth surface.
Painting: Paint the crates in your favorite colors or with wood stain to breathe new life into them.
Attach: Attach the crates to the wall in an interesting arrangement. You can arrange them horizontally, vertically or even wildly. It's best to let the child help decide.
More instructions for upcycling ideas
In general, I am always amazed at how much a new coat of paint can revitalize old furniture. So, be brave: be it a chair, a box or a picture frame to hang your children's artwork. A little new paint will change the whole mood of the room. Have the courage!
Upcycling toys: create something new from old objects
Upcycling is not only suitable for decorative elements, but is also perfect for giving disused objects a new lease of life as toys. Old kitchen utensils, discarded textiles or wood scraps can be transformed into cool play sets. With a little creativity and a little craftsmanship, you can create unique items that are not only fun to play with, but also environmentally friendly. And the afternoon activity is also guaranteed, win-win!
What you need:
Disused household items (e.g. old spoons, pots)
Paints, fabric remnants, decorative elements, toilet paper rolls
Tools depending on the project
Instructions for upcycling toys:
Select: Look for items that are safe and suitable for children.
Clean and prepare: Makes sure all items are clean and free of sharp edges.
Get creative: Transform the objects into toys using paints, fabrics and other decorative elements. For example, an old wooden spoon can be turned into a doll or a cloth into a cape for superheroes.
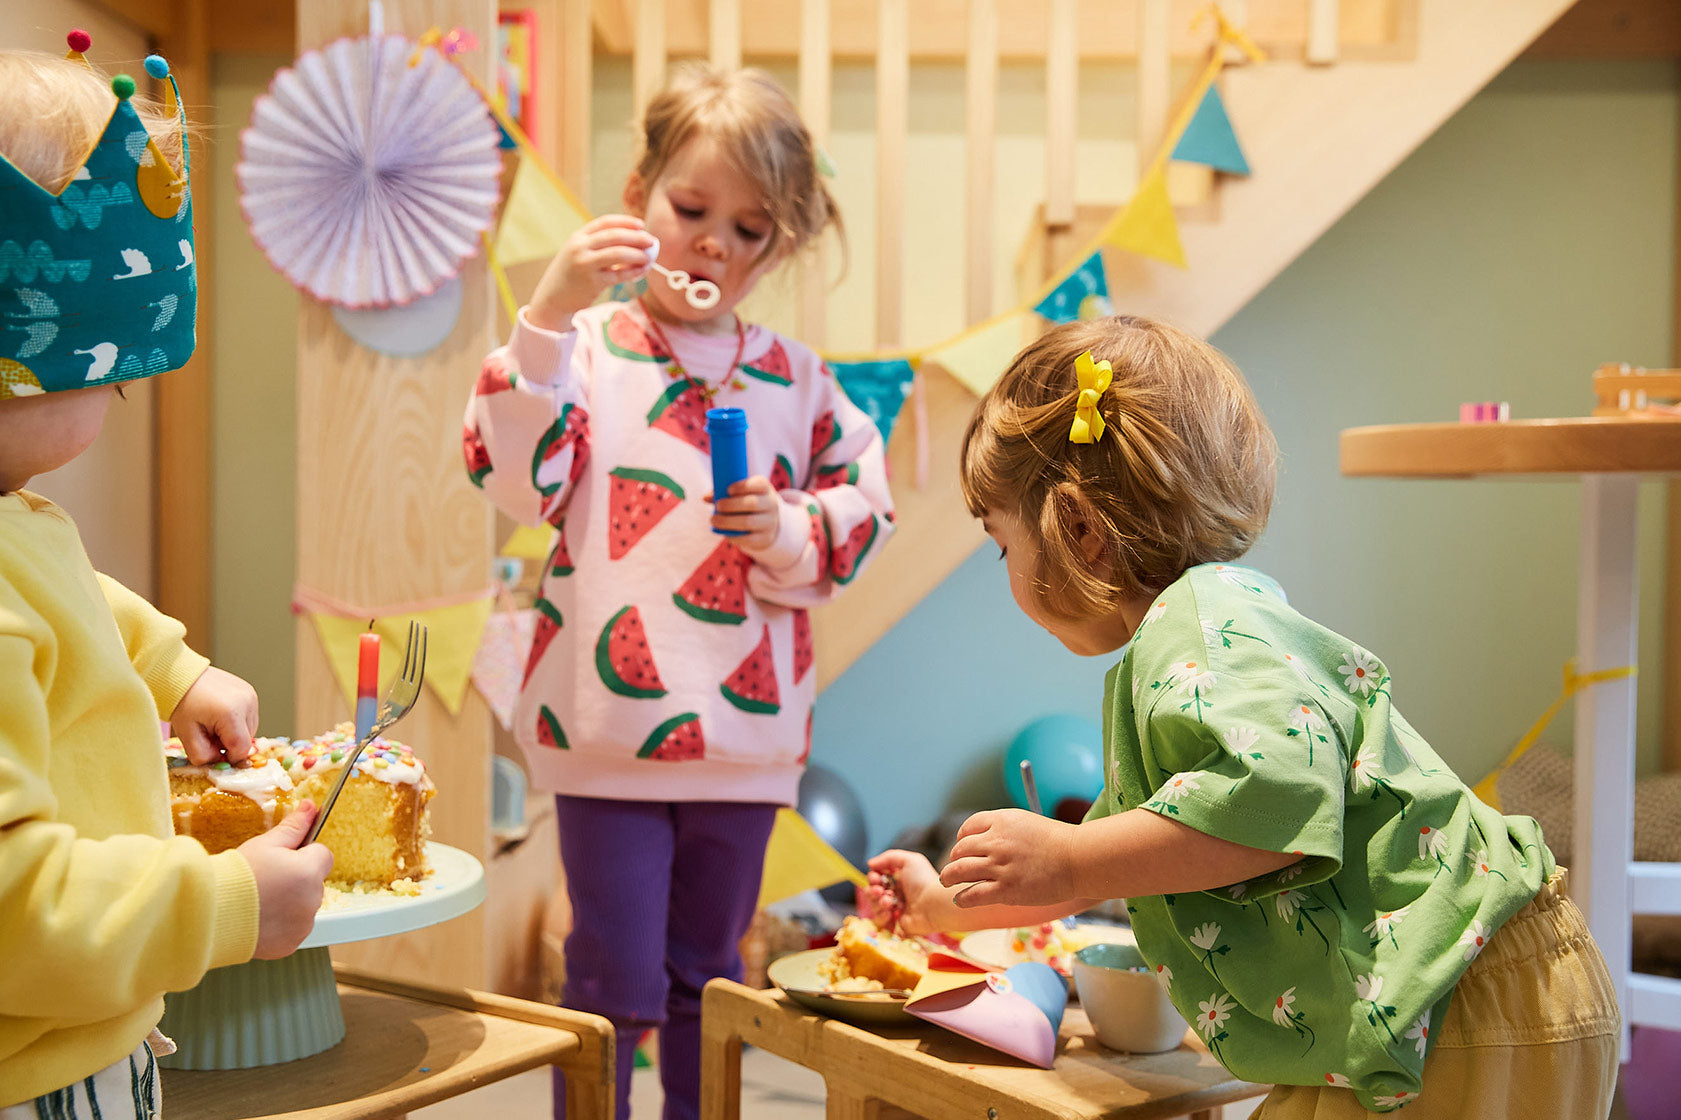
Garlands: Color explosion with pennant chains & co.
I li-la-love garlands in any form! They simply make every room and every situation so much friendlier. And in fact, my daughter and I regularly make garlands of some kind. My daughter now has one over her bed, one over her play corner and one on her store. But since that doesn't seem to be enough, we just keep on making them happily.
The first garland that I made with my daughter when she was about 1.5 years old is one that you are probably familiar with: the colorful paper strip garland.
To make it, you cut a few strips of colored paper, put one strip in a ring and glue (or staple) the ends together.
Then thread another strip through the ring and glue (or staple) the ends together again.
Keep doing this until your garland is as long as you want it to be.
For Easter, we cut out Easter bunny and egg shapes from Easter cards (click here to download the freebie Easter cards) and then attached them to a ribbon with adhesive tape.
For Halloween, we cut out handprints from white paper and drew little ghost faces on them. Then we ran everything through the sewing machine and attached them together. Alternatively, you can also use adhesive tape and ribbon.
On another occasion, we punched out large circles and flowers from old momo & mia packaging and then used the sewing machine to turn them into a colorful flower garland.
Pro tip: If you don't have the required materials to hand or don't have the time for DIY projects, get your ready-made colorful garland in my store now!
Creative with Instagram: Source of inspiration for DIY ideas
Instagram is an inexhaustible source of inspiration when it comes to DIY ideas and upcycling. Many creative minds share their projects and instructions there, encouraging you to try them out. Use this platform to gather new ideas for your home. Follow hashtags such as #DIYKinderzimmer or #UpcyclingDeko to discover new and exciting projects every day.
Creative wall design: more than just paint
I don't know if your children like painting as much as mine do, but from a very young age I used to lay large sheets of paper on the floor with my daughter and let her go wild with them barefoot, with her hands and with all kinds of utensils. Now she's a bit older and also likes to stand while painting. At first we put a blackboard in front of her until we came up with a better idea: painting the wall!
To do this, paint an area of the nursery wall with chalkboard paint. All of a sudden you have created a constantly changing art gallery.
Use masking tape to create geometric patterns or frame effects. These ideas are not only inexpensive, but also easy to change.
Alternatively, you could simply choose an area where your children can immortalize themselves without chalkboard paint. For example, with handprints that you can transform into animals or something similar and thus not only have a colorful wall, but also a lasting memory of the growing years.
But now I'm super curious to see what creative upcycling ideas you have at home, the possibilities are endless. From tin cans to worn-out books, you can create your unique piece from all kinds of things. Feel free to tag me if you show your DIY projects on Instagram, I look forward to inspiration!